Hide TV Wires: Renter Friendly Fixes and Code Safe In Wall Options
Hide TV Wires: Renter Friendly Fixes and Code Safe In Wall Options
For renters, a paintable surface raceway solves the problem in about 20 minutes with zero wall damage. For a permanent, invisible finish on drywall you own, an in-wall power relocation kit paired with a low-voltage pass-through is the real fix. One rule overrides both options: never run a standard TV power cord inside a wall cavity, since that violates the National Electrical Code.
TL;DR:
- Renters should use a paintable surface raceway, which costs under $40 and installs in 20 minutes, for no-wall damage cord concealment.
- For brick, concrete, or metal walls, surface raceways or external conduit are the only safe, code-compliant options that do not require wall modifications.
- Always leave 6 to 8 inches of slack at cable ends and measure the total bundle size to select a raceway rated for twice that capacity.
- Wireless solutions can reduce visible wires but do not eliminate the need for power cords, which still require separate concealment methods.
Table of Contents
- Hide TV Wires Options for Every Wall and Budget
- How to Pick the Right Method Without Guessing
- What We See on the Job: Installer Notes That Actually Help
- Wireless Alternatives to Minimize Visible Wires
- Hiding Wires on a Porch, Lanai, or Exterior Wall
- Fix Move Haul: A Direct Option When You’d Rather Skip the DIY
- The Bottom Line on Concealing Your Wires
- Sources
Hide TV Wires Options for Every Wall and Budget
Every good option here solves a specific version of the same problem, and picking the wrong one wastes money or time you don’t get back. Here’s the full lineup, ranked by how often each one actually gets used well.
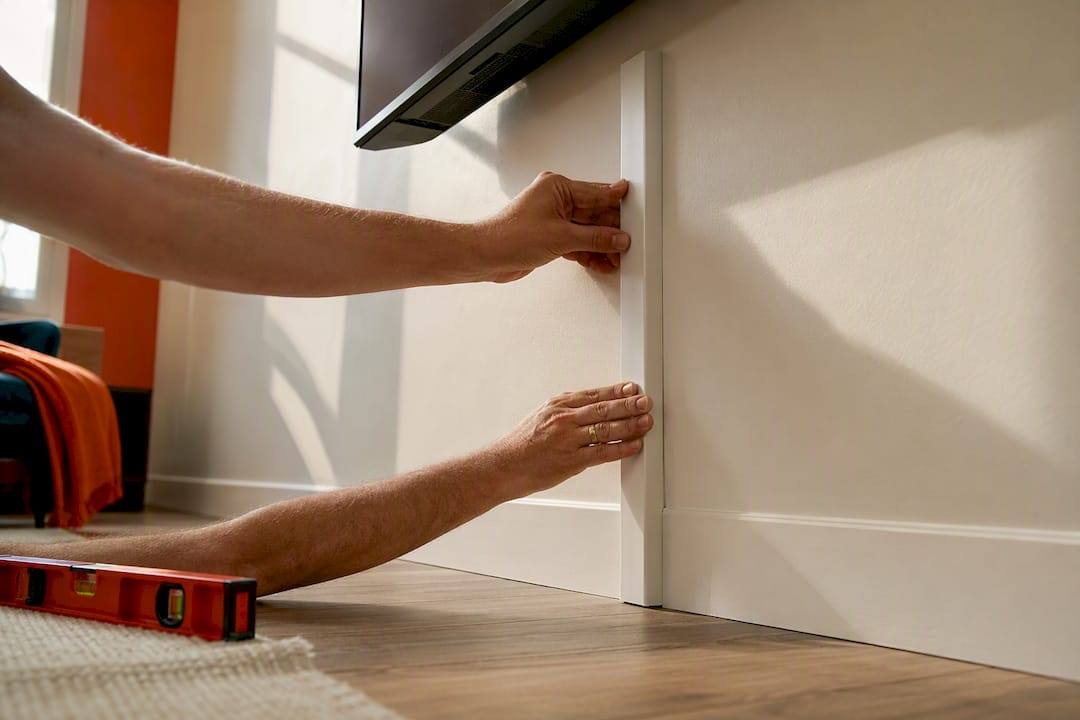
Paintable surface raceways are the default for anyone who can’t cut into a wall. These are adhesive or screw-mounted plastic channels that stick to the wall surface and hold your cables in a straight, paintable line from the TV down to an outlet or baseboard. Standard adhesive-backed kits run under $20 to $40 and install in roughly 20 minutes with nothing more than a tape measure, scissors, and a level. Size the channel using the double-capacity rule: measure your current cable bundle, then pick a raceway rated for twice that width so you’re not fighting to squeeze in a soundbar cable later. Before sticking anything to the wall, wipe the surface with isopropyl alcohol to strip oils and dust that weaken the adhesive bond, and if you’re renting, lay a strip of painter’s tape down first so the raceway comes off clean at move-out without stripping paint.
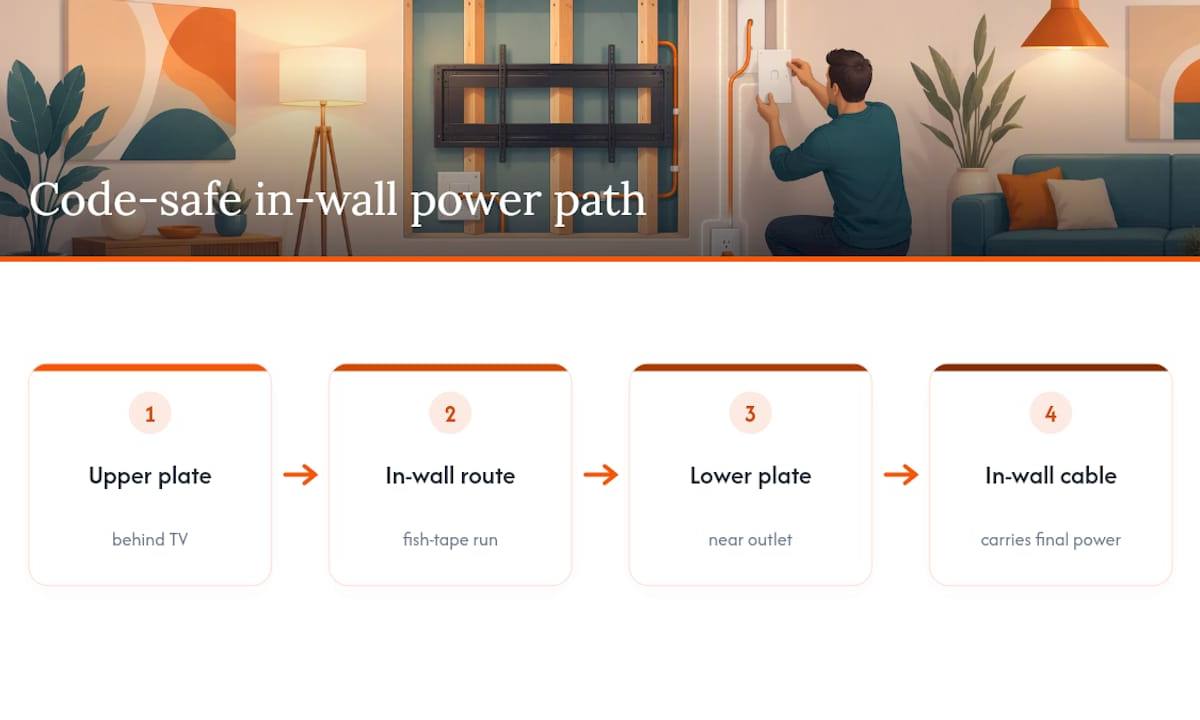
In-wall power relocation kits and low-voltage pass-throughs give you the cleanest possible look, but they only work safely with the right hardware. These kits use two low-voltage wall plates connected by an internal fish-tape run: one plate sits behind the TV, the other drops down to a nearby outlet, and the kit’s own in-wall-rated cable carries power the last few feet. That’s what makes it code-compliant where running a regular TV power cord through drywall is not. DIY kits usually cost between thirty-five and one hundred dollars and require approximately half an hour to an hour to install, plus additional time for patching if cutting new holes. If your TV pulls more current than the kit is rated for, or you’re dealing with insulation, fire blocking, or a wall you’re not sure is stud or masonry, that’s the point to call an electrician instead of guessing.
Behind-furniture and console routing is the zero-tool option. If your TV sits above a media console or credenza, route the cords down behind the furniture and let the console hide everything below its top edge. Drill a small grommet hole in the back panel if the console is enclosed, and keep the power strip mounted to the inside back wall of the console rather than floating loose on the floor.
Cable sleeves and zippered fabric managers bundle three to six cords into one soft tube that reads as a single cable instead of a tangle. They’re best for the short vertical run right behind the TV, not for long horizontal stretches, and they add zero cost beyond the sleeve itself.
Cable management boxes and mounted power strips hide the ugliest part of any setup: the power brick pile. Measure your power strip and any bulky adapter bricks before buying a box. Most six-outlet strips run 10 to 14 inches, and the box needs enough clearance for airflow so nothing overheats inside a sealed container.
Shorter replacement cables eliminate slack loops that no amount of concealment hides well. If your HDMI cable is three feet longer than the actual run, that extra length bunches up behind the raceway or console and shows through any thin cover.
Baseboard and quarter-round channels let you route cords horizontally along the floor line using paintable trim designed to match existing molding, which reads as a design detail instead of an afterthought.
Decorative concealment through faux molding, built-in shelving, or a false wall panel takes more time and often a few hundred dollars in materials, but it produces a finish indistinguishable from a wall with no wires at all, as shown in these easy wall decor tutorials for unique DIY art at home.
Pro Tip: When your raceway run hits a corner, cut each piece at a 45 degree miter instead of butting two square ends together. It adds maybe two minutes per corner, and the joint looks intentional rather than improvised.
How to Pick the Right Method Without Guessing
Work through this in order and you’ll land on the right method in under five minutes.
- Count your cables and measure the run. Add up how many cords need to travel from the TV to the nearest outlet, then apply the double-capacity rule: buy a raceway or sleeve rated for twice that bundle width so a future streaming box or soundbar doesn’t force a redo.
- Identify your wall type and lease status. Drywall over a stud bay with clear access is a candidate for an in-wall kit. Masonry, brick, or concrete walls can’t be fished the same way, so surface raceways are the standard solution there regardless of ownership. If you’re renting, skip anything that requires cutting drywall.
- Check the safety rule before you buy anything. The National Electrical Code treats a standard flexible appliance cord as unsuitable for permanent in-wall wiring, so any in-wall power solution needs a UL-listed kit or a licensed electrician, not a extension cord fished through a hole. Keep power and low-voltage cables in separate channels unless the product is explicitly rated for both.
- Match the job to your tool and skill level. A raceway install needs a tape measure, scissors, and a level. An in-wall kit needs a stud finder, drywall saw, and fish tape at minimum. A heavy TV, a full-motion mount, or anything requiring a new outlet circuit is a job for a professional installer.
One detail worth flagging: the three-zone approach (vertical raceway to the baseboard, horizontal run along the baseboard, cable box at the endpoint) consistently produces the cleanest visible result of any surface-mount method, because it breaks one long ugly run into three short, deliberate ones.
What We See on the Job: Installer Notes That Actually Help
Fix Move Haul handles TV mounting across brick, metal stud, and concrete walls throughout Southwest Florida, often with same-day scheduling, and a few patterns show up constantly on-site.
- Fire blocking inside older stud bays stops fish tape cold. Don’t force it. Reroute or call it in.
- Metal studs eat standard stud-finder readings. A magnetic finder locates the screws, not the stud itself.
- Bulky adapter bricks rarely fit inside slim raceways. Leave them outside the channel near the outlet instead of forcing the whole cord length into the wall.
- Always leave 6 to 8 inches of slack at both ends. A dead-tight run makes future TV swaps or wall mount adjustments miserable.
When the wall is brick, block, or concrete, or the TV is heavy enough that a full-motion mount is involved, that’s when hiring out saves more time than it costs.
Wireless Alternatives to Minimize Visible Wires
You can’t eliminate every cord, but you can cut the count dramatically. A wireless HDMI transmitter kit sends audio and video from a source device like a cable box or game console to the TV without a physical HDMI run, which matters most when your source components sit across the room instead of on a shelf below the TV.
Soundbars and speaker systems increasingly connect over Wi-Fi or Bluetooth instead of speaker wire, which removes one of the longest and most visible cord runs in a typical living room setup. A wireless charging pad tucked into a console shelf can also eliminate a stray phone cable from the tangle.
What wireless tech doesn’t solve is power. Every TV, soundbar, and streaming device still needs a physical power connection, so even a fully wireless audio and video setup leaves you with a power cord problem at the wall. That’s where a raceway, an in-wall kit, or smart power strip placement still does the real work.
Streaming sticks and built-in smart TV apps also cut down on the number of boxes you need plugged in behind the television in the first place. Fewer devices means fewer cords to hide, which is often the simplest win available before you touch a single raceway or drill a single hole.
Hiding Wires on a Porch, Lanai, or Exterior Wall
Outdoor TV setups come with a different rulebook. Standard interior raceways and cable covers aren’t rated for sun, humidity, or rain exposure, and Florida’s lanai and porch environments will degrade indoor-grade plastic and adhesive fast.
Use raceway and conduit products specifically rated for outdoor or wet-location use, and confirm any power connection routes through a weatherproof, in-use outlet cover rather than a standard interior outlet. If the mount sits on a screened lanai or exterior stucco wall, surface-mount routing is almost always the answer since fishing cable through exterior wall cavities usually means dealing with insulation, moisture barriers, or masonry that makes a clean interior-style pass-through impractical.
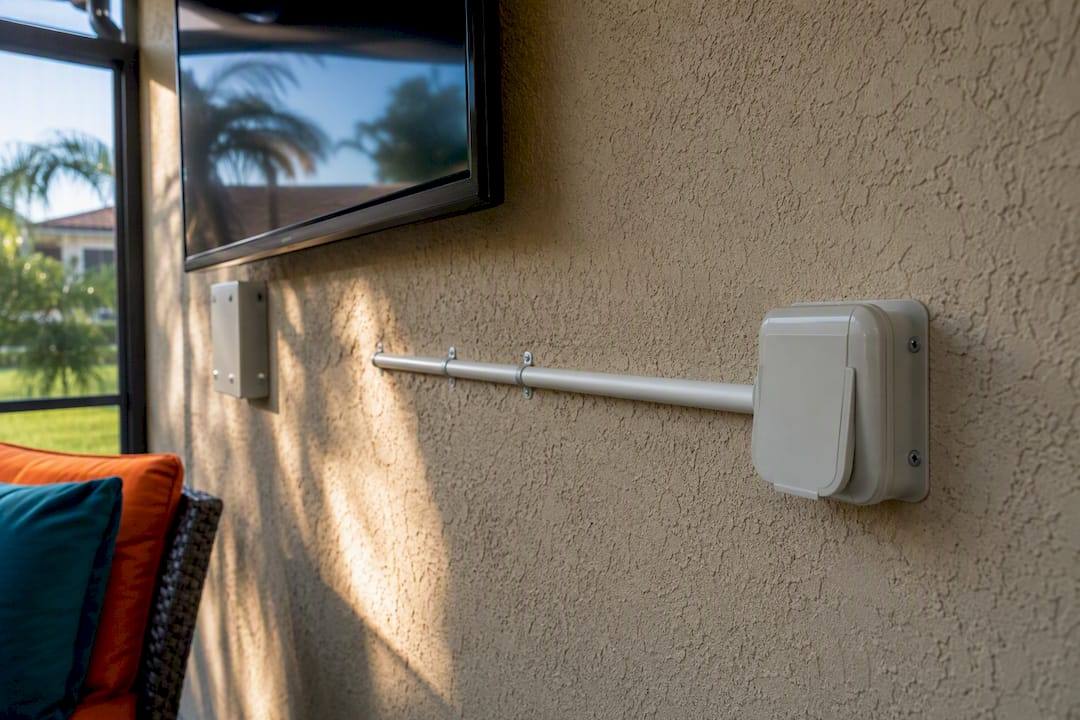
Keep any cable splices or low-voltage connectors inside a rated weatherproof box, not exposed to direct weather, and route cords to avoid pooling water at any low point in the run. Sun exposure over multiple Florida summers will also fade and crack unrated plastic covers, so outdoor-rated material isn’t optional trim, it’s the difference between a fix that lasts one season and one that lasts five.
If your outdoor TV setup includes a full-motion mount on stucco, block, or a screen enclosure frame, that’s a case where getting a professional opinion before drilling saves you from a repair bill later.
Fix Move Haul: A Direct Option When You’d Rather Skip the DIY
Some jobs are worth doing yourself, and some just aren’t worth your Saturday. Fix Move Haul handles TV mounting, concealed in-wall power installs, and furniture placement across Naples, Bonita Springs, Estero, and the rest of Southwest Florida, often with same-day availability when your wall type is brick, concrete, metal stud, or anything else that turns a simple project into a guessing game.

If you already know you want the flush, wire-free look but don’t want to fish cable through a stud bay yourself, that’s exactly the kind of job we handle start to finish, including the outlet relocation and the patch work after. Check out TV mounting services in Southwest Florida to see coverage areas and book a visit, or if you’re prepping a new TV and mounting hardware from a Home Depot or Lowe’s run, we can handle the pickup and the install in the same appointment.
The Bottom Line on Concealing Your Wires
Renters should buy a paintable raceway and stop there. Homeowners on drywall who want a truly invisible finish should budget for an in-wall kit or a quick call to a pro. Either way, never bury a standard power cord inside a wall. Measure your run this weekend, pick your method, and either grab the kit or book the install.
— Mark
Sources
- MakeUseOf — how to hide TV cables in wall
- Clutterless Nest — hide TV wires without drilling
- Electriduct — surface raceways
- CablingInstallation — cable management best practices