Bed Disassembly for Moving: A Step-by-Step Guide
Bed Disassembly for Moving: A Step-by-Step Guide
Most beds should be at least partly disassembled before a move. Headboards jam in doorways, footboards scrape stairwells, and a fully assembled frame eats truck space you don’t have. The reason comes down to four things: door widths, stair turns, mattress protection, and cargo efficiency.
Your first move, before anything else: strip the bedding and pull the mattress off the frame. Bag it or set it somewhere safe and out of the way. That single step clears your workspace and gets the heaviest, most awkward piece out of your hands early.
Some setups call for a professional instead of a Saturday afternoon with an Allen key. Consider hiring help if you’re dealing with:
- A heavy solid-wood or upholstered headboard that takes two people just to tilt
- A motorized or adjustable base with wiring you don’t want to troubleshoot
- A narrow stairwell or tight hallway turn
- An antique frame with fasteners you can’t identify
Key Takeaways
Disassembling a bed frame before a move protects the mattress, clears doorways and stairs, and cuts reassembly time when hardware is labeled and photographed.
| Point | Details |
|---|---|
| Strip first | Remove bedding and the mattress before touching any tools. |
| Follow the sequence | Take apart slats, then rails, then headboard and footboard, in that order. |
| Label everything | Bag hardware by component and tape each bag to its matching piece. |
| Match tools to material | Use hand tools on particleboard; skip the power drill to avoid stripped fasteners. |
| Call in help when needed | Fixmovehaul handles disassembly, padding, transport, and reassembly for oversized or motorized beds across Southwest Florida. |
Manufacturer and industry resources to consult
For specialty cases, check the Sleep Number moving guide for motorized bases, the FMCSA’s Ready to Move brochure for mover prep basics, and visual step-by-step guides for cam-lock frames.
Table of Contents
- What tools and supplies do you need for bed disassembly?
- What is the correct order to disassemble a bed frame?
- How does bed type change the disassembly process?
- How do you pack and load bed parts for transport?
- How do you reassemble a bed and check it’s safe to sleep on?
- When should you hire professionals for bed disassembly?
- Sources
What tools and supplies do you need for bed disassembly?
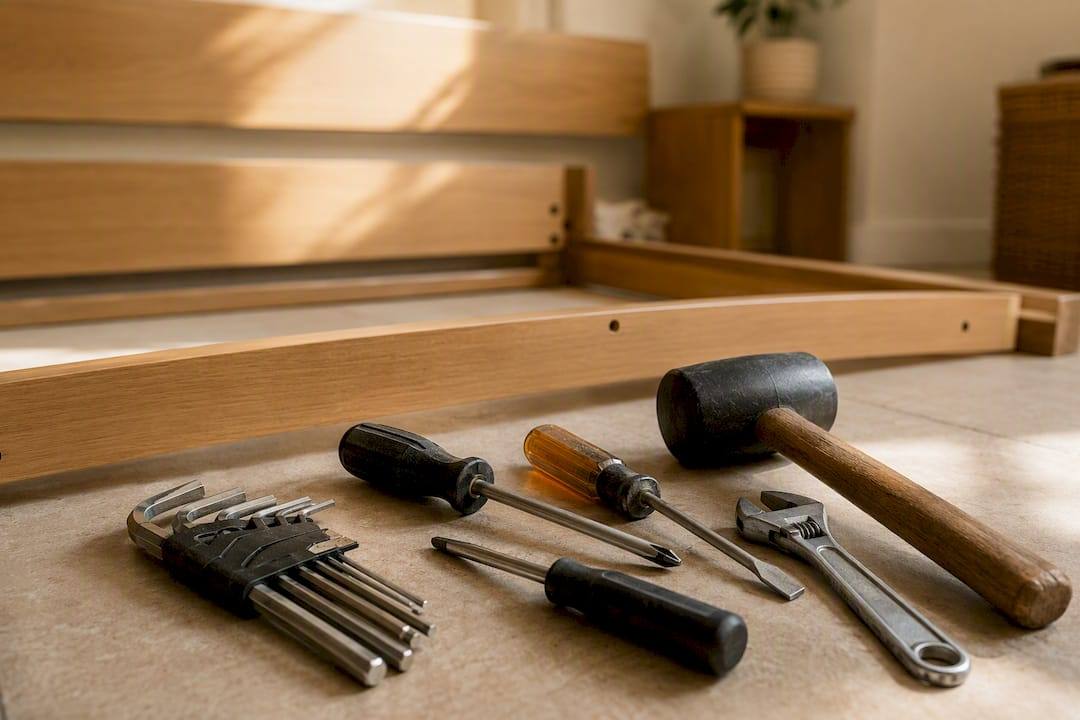
Before you touch a single screw, lay out your toolkit. Most beds need some combination of an Allen or hex key set, a Phillips and flathead screwdriver, an adjustable wrench or socket set, slip-joint pliers, and a rubber mallet for stubborn joints.
For packing, gather moving blankets, stretch wrap, a mattress bag, zip-top bags for hardware, painter’s tape, a permanent marker, and cargo straps for the truck.
One caution worth repeating: skip the power drill on particleboard frames. A drill’s torque strips soft wood fasteners fast, and once a hole is stripped, that joint never holds the same way again. Hand tools, or a driver set on the lowest torque setting, give you the control particleboard needs.
Time estimate: most moving guides put metal frame disassembly at roughly 15 to 30 minutes, while wooden platform or flat-pack beds typically run 30 to 60 minutes for one person with a helper.
What is the correct order to disassemble a bed frame?
Work through bed frame disassembly in this sequence, and you’ll avoid the two most common headaches: lost parts and mismatched screws.
- Strip and clear. Remove all bedding, then move the mattress to a safe spot or slide it into a mattress bag. If the base is motorized, unplug it first and snap a quick photo of the wiring before you disconnect anything.
- Pull the slats or platform panels. Stack wooden slats flat or roll fabric slat systems. Mark which end faced the headboard with painter’s tape so orientation isn’t a guessing game later.
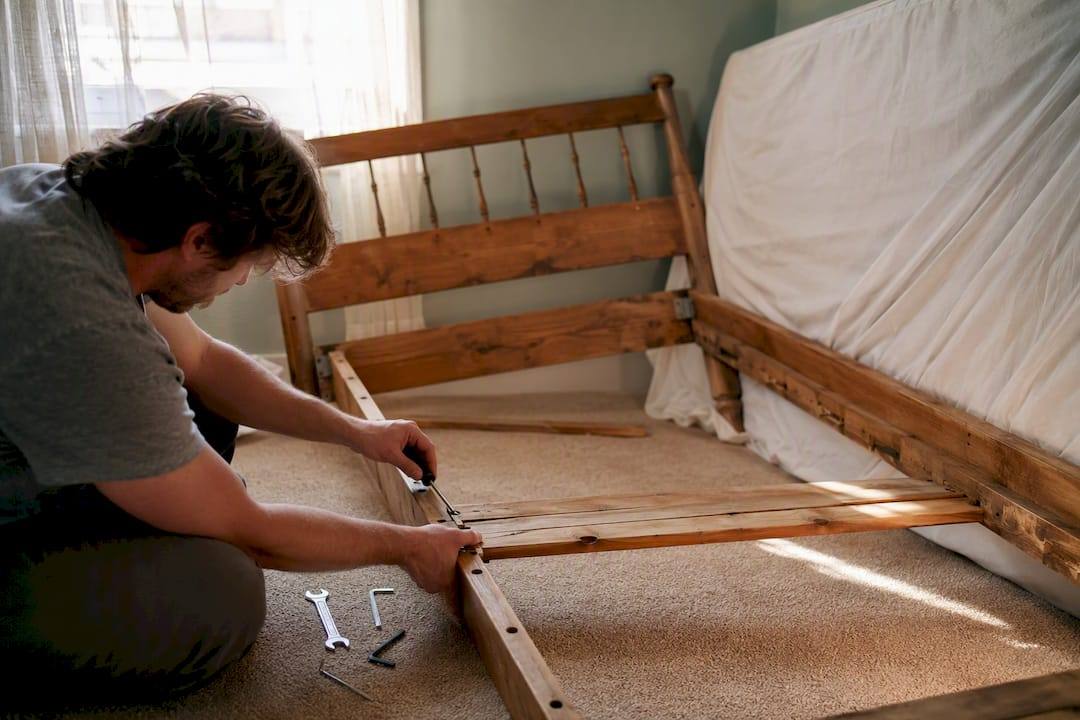
- Detach the support rails. Unscrew the center support beam and any cross rails. Drop every screw, bolt, and bracket into a labeled zip-top bag as you go.
- Remove the side rails, then the headboard and footboard. Work one side at a time. Large headboards and footboards need a second set of hands, both for control and to keep the panel from tipping onto a wall or floor; for tips on handling doors and large panels, see Can You Replace Bedroom Doors without Replacing the Frame?.
- Consolidate hardware. Gather all bolts, nuts, and washers into separate labeled bags by component, then tape each bag directly to its matching frame piece so nothing wanders off in the truck.
- Photograph the joints. Before you break down each connection point, take a picture. Field experience shows a single misplaced hardware bag is the leading cause of a reassembly that drags on for hours.
- Move with your knees, not your back. Bend at the hips and knees when lifting rails or panels, and never carry a large piece down stairs alone. If a panel blocks your sightline on a staircase, have a second person guide from below.
Pro Tip: Snap your reassembly photos before you fully separate a joint, not after. A picture of two pieces still connected shows you exactly how they line up, while a photo of loose parts on the floor tells you almost nothing.
How does bed type change the disassembly process?
Not every frame comes apart the same way, and knowing your bed type before you start saves wasted effort.
- Metal frames usually rely on hook slots and a center support bar rather than dozens of fasteners. You can often separate the rails from the headboard brackets by lifting and sliding, with no screwdriver required.
- Flat-pack and IKEA-style frames use cam locks and wooden dowels. Turn each cam a quarter turn with the Allen key rather than forcing it, and avoid overtightening when you rebuild, since particleboard threads strip permanently once stressed.
- Platform and storage or ottoman beds need drawers pulled first. Gas-lift storage beds have hydraulic struts. Never puncture or force them, and follow the manufacturer’s release sequence.
- Adjustable and motorized bases come with their own rules. Unplug the unit completely, move the motor assembly separately from the frame, and check the manual before disconnecting anything electrical. Manufacturer guidance consistently warns that improper handling during a move can damage components or void the warranty.
How do you pack and load bed parts for transport?
Wrap wooden headboards and footboards in moving blankets rather than plastic. Plastic wrap traps moisture against a wood finish, and that moisture leads to warping or a cloudy finish over time. Upholstered panels do better under stretch wrap, with bubble wrap taped over any exposed corners.

Bundle slats together and secure the stack with tape or a strap so they don’t scatter when the truck door opens. Tape each labeled hardware bag either inside a drawer or directly onto its matching component; hardware bags mixed loosely in a box are the number one reason reassembly stalls at the other end.
Once loaded, set large panels flat against the truck wall when there’s room, or stand them vertically and strap them down if space is tight. Slide the mattress into its bag and load it last, upright against a wall, so nothing crushes it during transport.
How do you reassemble a bed and check it’s safe to sleep on?
Reverse the disassembly order, using your labeled bags and photos as the map. Tighten fasteners in an alternating pattern across corners, the same way you’d torque lug nuts on a wheel, rather than cranking one side fully tight before touching the other.
Check the center support beam and slats before adding the mattress, then push and rock the frame to test for wobble. A stripped screw hole can often be fixed with a wood toothpick and wood glue, packed into the hole before the screw goes back in. If hardware turns up missing, most hardware stores stock standard bolts, washers, and cam locks that match common frame sizes.
When should you hire professionals for bed disassembly?
Book help when you’re facing an oversized headboard, an antique frame with unknown fasteners, a motorized base, a complex storage system, or a staircase that leaves no margin for error. Beyond muscle, a professional moving crew brings padding and protective wrapping, a loading plan for the truck, and full reassembly at the destination, which saves you the guesswork on timing.
Costs vary by bed size, complexity, and whether you need labor-only help or full-service assembly, so it’s worth getting a quote up front and asking directly whether disassembly and reassembly are included, along with how the crew handles damage or warranty questions. The FMCSA’s consumer rights booklet is a useful reference for exactly what to ask before you sign anything.
On-site lessons and common pitfalls
The mistakes we see most: mixed hardware bags, no reassembly photos, and cardboard instead of real padding. A quick shortcut that costs nothing: label rails with tape before you touch a screwdriver. If a headboard needs three hands, stop and call for backup.
How Fixmovehaul makes your move lighter
You’ve got two options after reading this: spend your Saturday with an Allen key and a growing pile of mystery screws, or hand the frame to a crew that does this daily. Fixmovehaul is the faster path for Southwest Florida homeowners who’d rather skip the trial-and-error entirely.

Our crews handle furniture disassembly and reassembly, pickup and delivery, and same-day help across Naples, Bonita Springs, Estero, and the rest of Lee and Collier counties. Snowbirds closing up a home for the season and realtors prepping a listing use our concierge options for shopping pickups, returns, and staging touches, all on top of the moving work itself.
To get an accurate quote, tell us the bed type (metal, platform, adjustable), whether it has a motorized base, and how many flights of stairs are involved. Then book your furniture pickup and delivery and let a crew that’s done this hundreds of times handle the frame.
Sources
- Rights and Responsibilities booklet (FMCSA)
- Sleep Number® Moving Guide
- How to move a bed (MovingPlace)
- How to Take Apart or Disassemble a Bed Frame (IKEA + Metal)